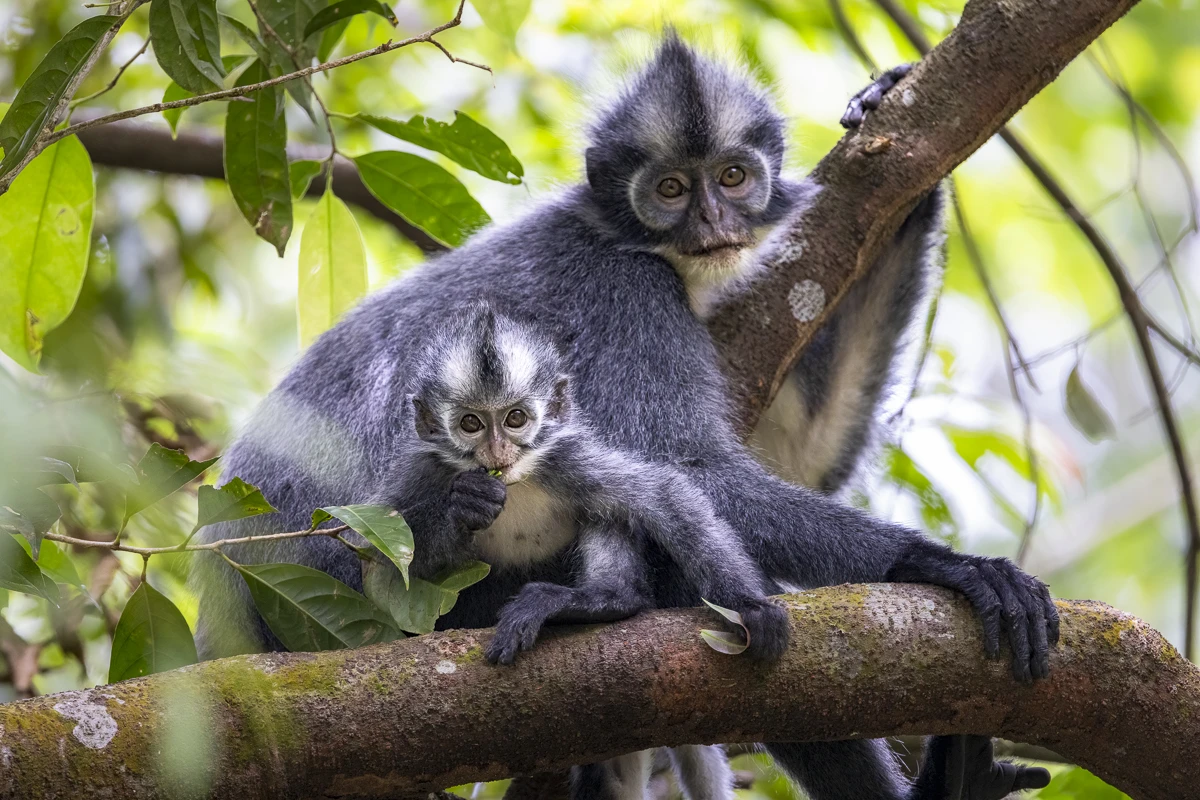
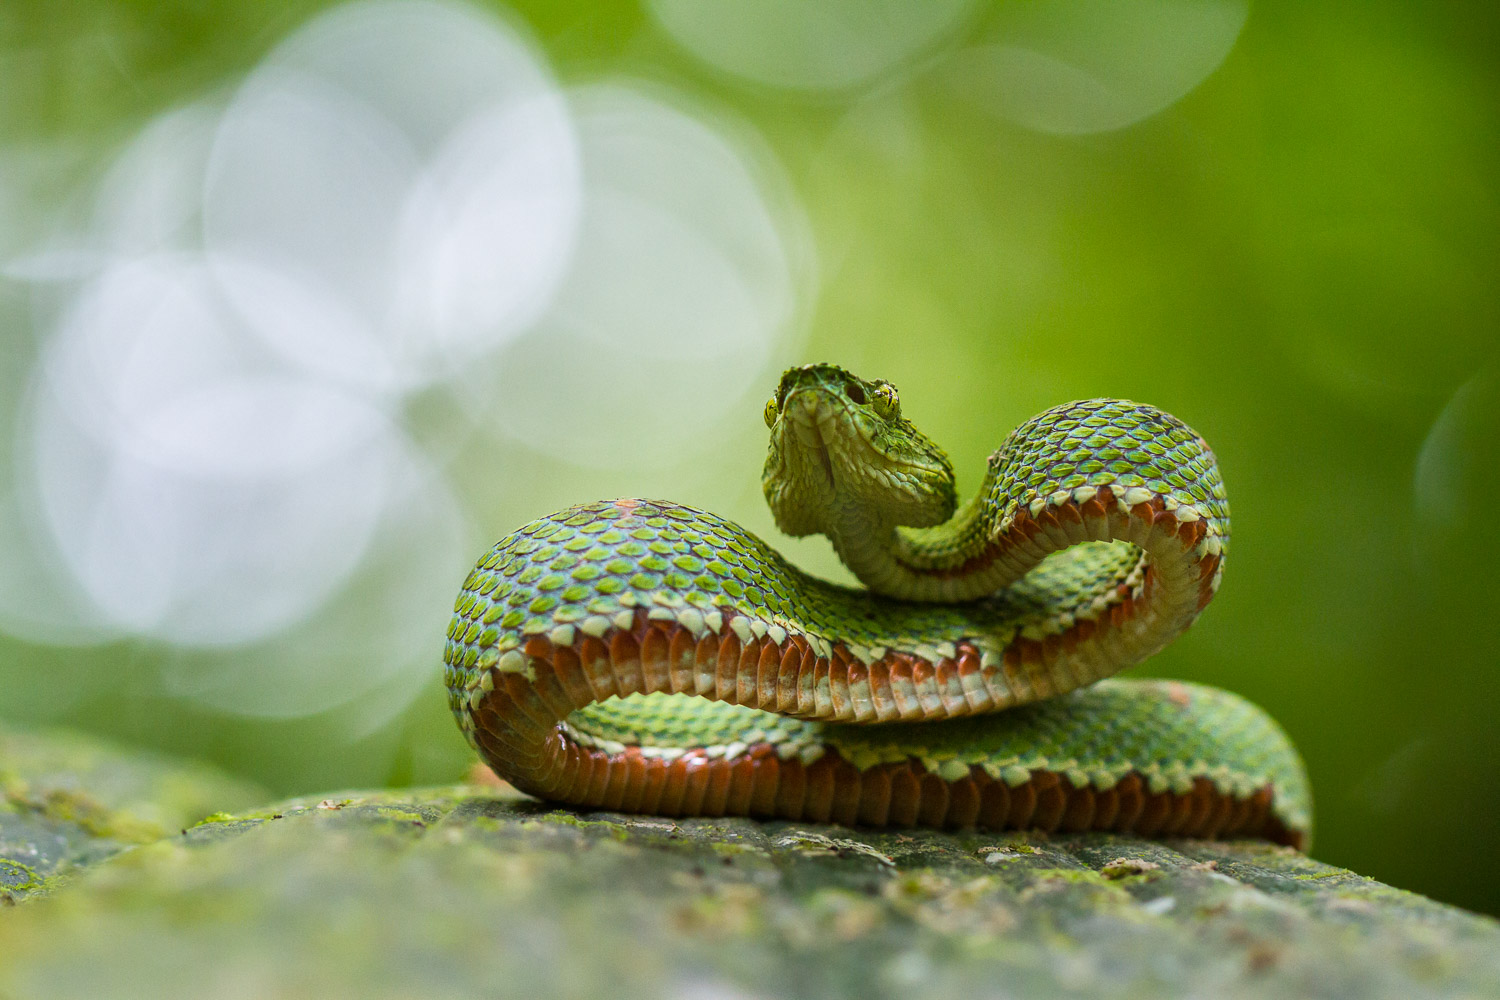
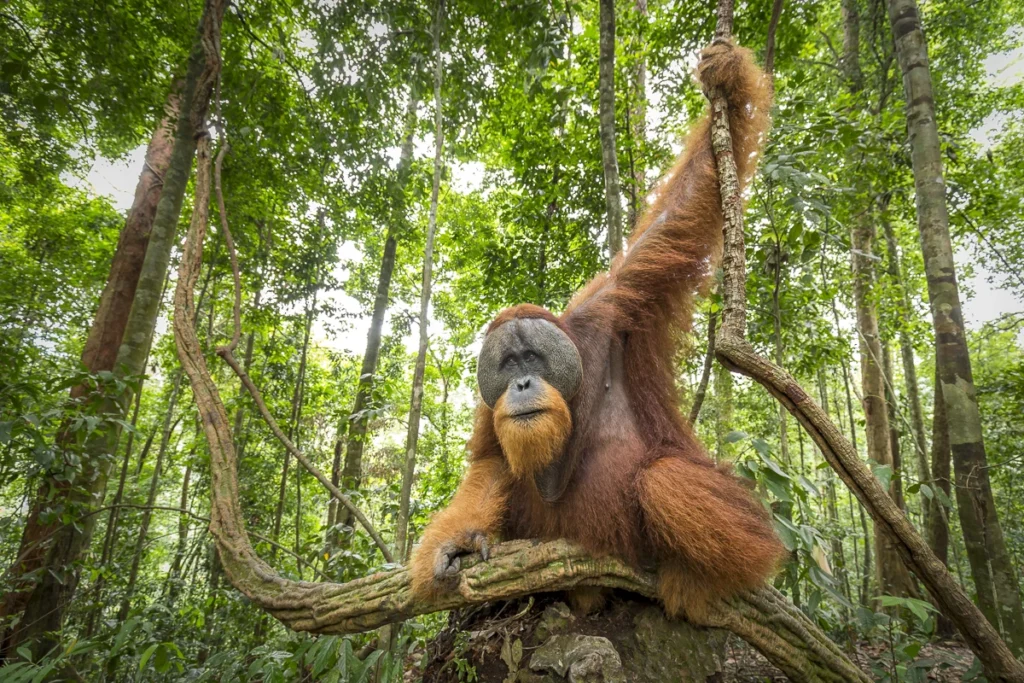
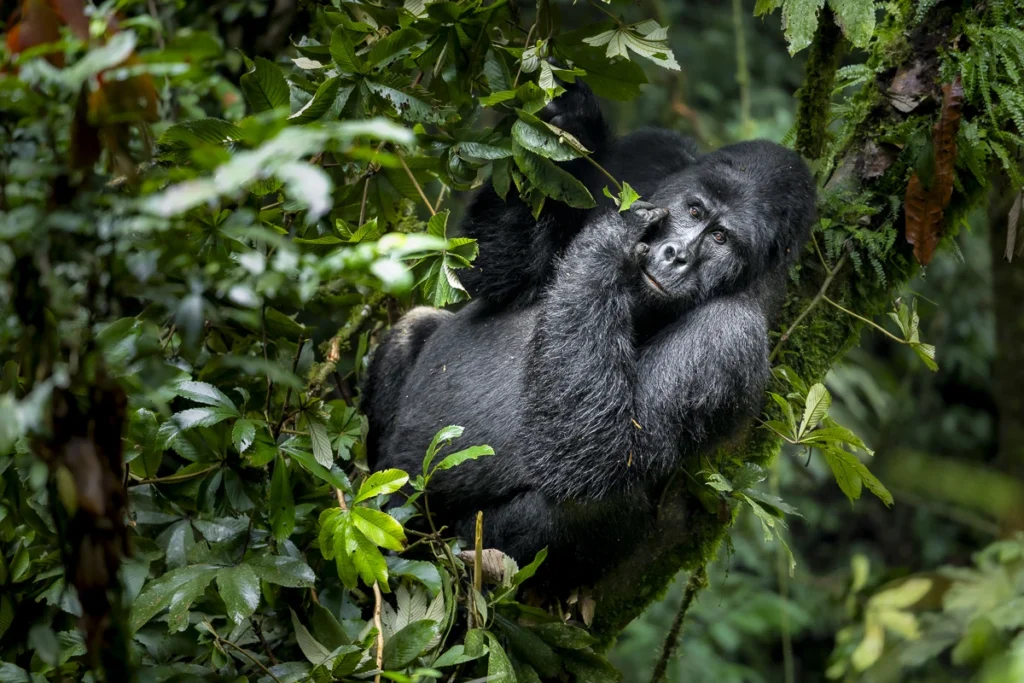
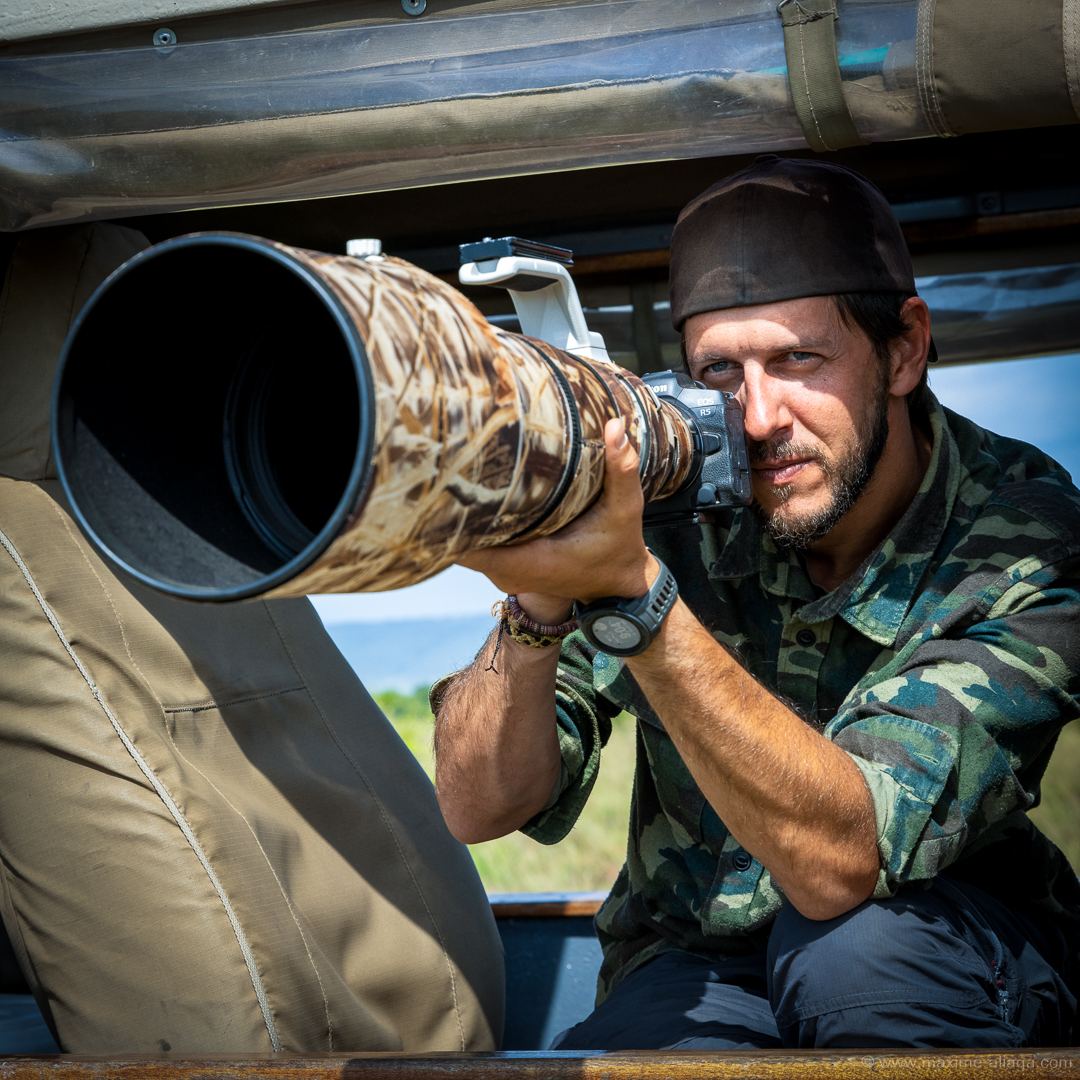
Photographing wild animals is a fascinating experience, a very strong and rewarding feeling of connection with nature. In this form of stalking, we feel as if we’ve become an animal ourselves, with all our senses alert. The reward for our efforts is this privileged moment when nature offers us the most beautiful of gifts and lets us observe and photograph her in her intimacy for our greatest happiness.
Maxime Aliaga
To achieve this moment of grace when nature offers itself to you, you’ll need patience, knowledge and technique.
In this article, I present my top 5 tips for creating beautiful animal photos. From knowing your subjects, to shooting techniques, to managing and processing your photos, these tips will help you create authentic and powerful images. Get your camera ready and discover how to create breathtaking animal photos.
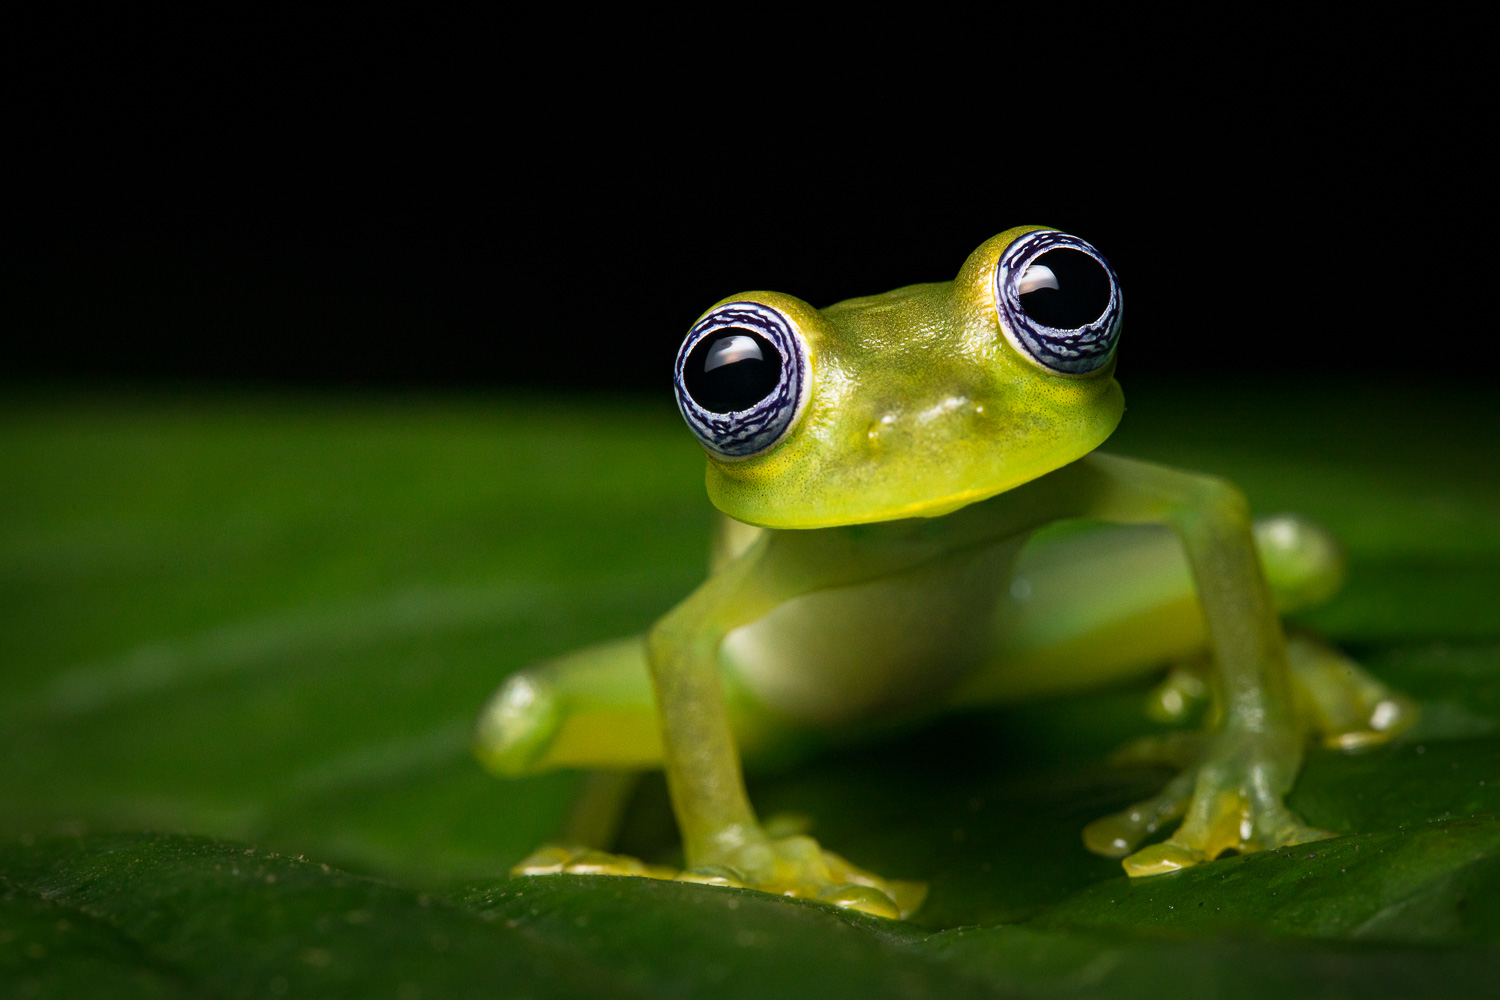
1- KNOWING AND RESPECTING ANIMALS
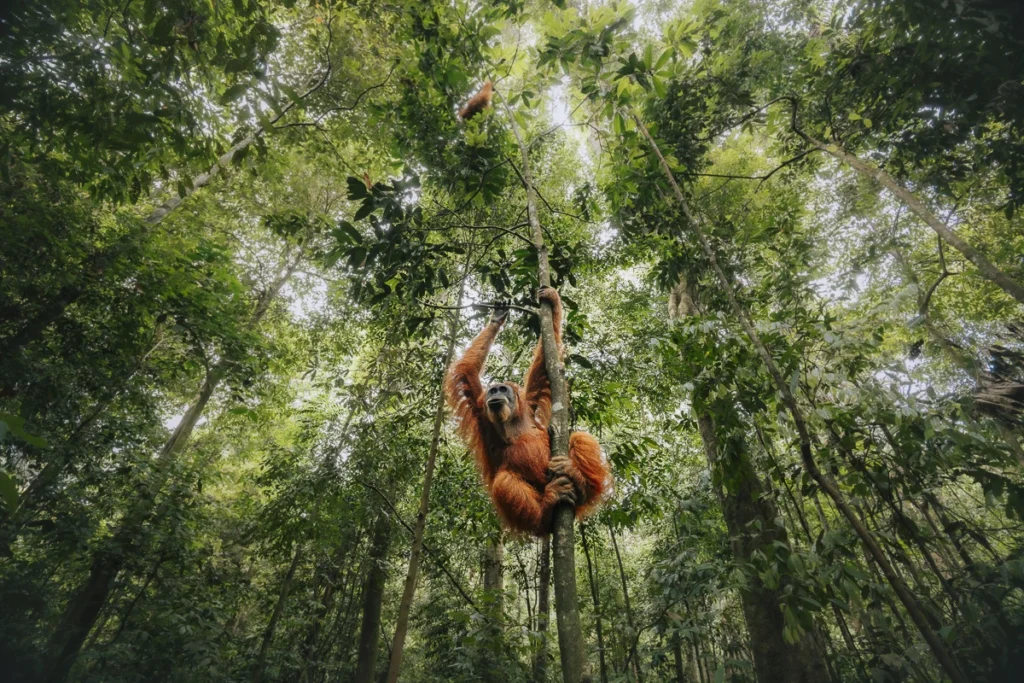
The first tip for good animal photography is to know your subjects well. Animals are wild by nature, their lives governed by survival instinct, and most of them are rightly wary of humans. The challenge therefore lies in the way we approach them or wait for them (on the prowl) to create a proximity that will enable us to take their picture.
So learn as much as you can about your subjects’ behaviours, habitats and eating habits to try and photograph them.
Knowing the habits and behaviors of your subjects can help you anticipate their actions and capture interesting and meaningful moments. The more you know about the animals you’re photographing, the better you’ll be able to anticipate them and capture them in natural, expressive positions. It’s also important to understand the particularities of each species, such as their natural habitat, diet and social behavior. This can help you find the best places to photograph them and determine the most opportune times to observe them under the best conditions. If you’d like to learn more, don’t hesitate to pick up a wildlife guide.
Finally, don’t forget that animals are wild creatures and that respect for their space and well-being is crucial. Ethics in wildlife photography are paramount: don’t disturb animals just for the sake of a picture! Avoid approaching them too closely or disturbing their natural behavior, and always be aware of how you interact with them when photographing them. By knowing your subjects and respecting their space, you can create authentic and powerful images that show the life and beauty of the animals you photograph.
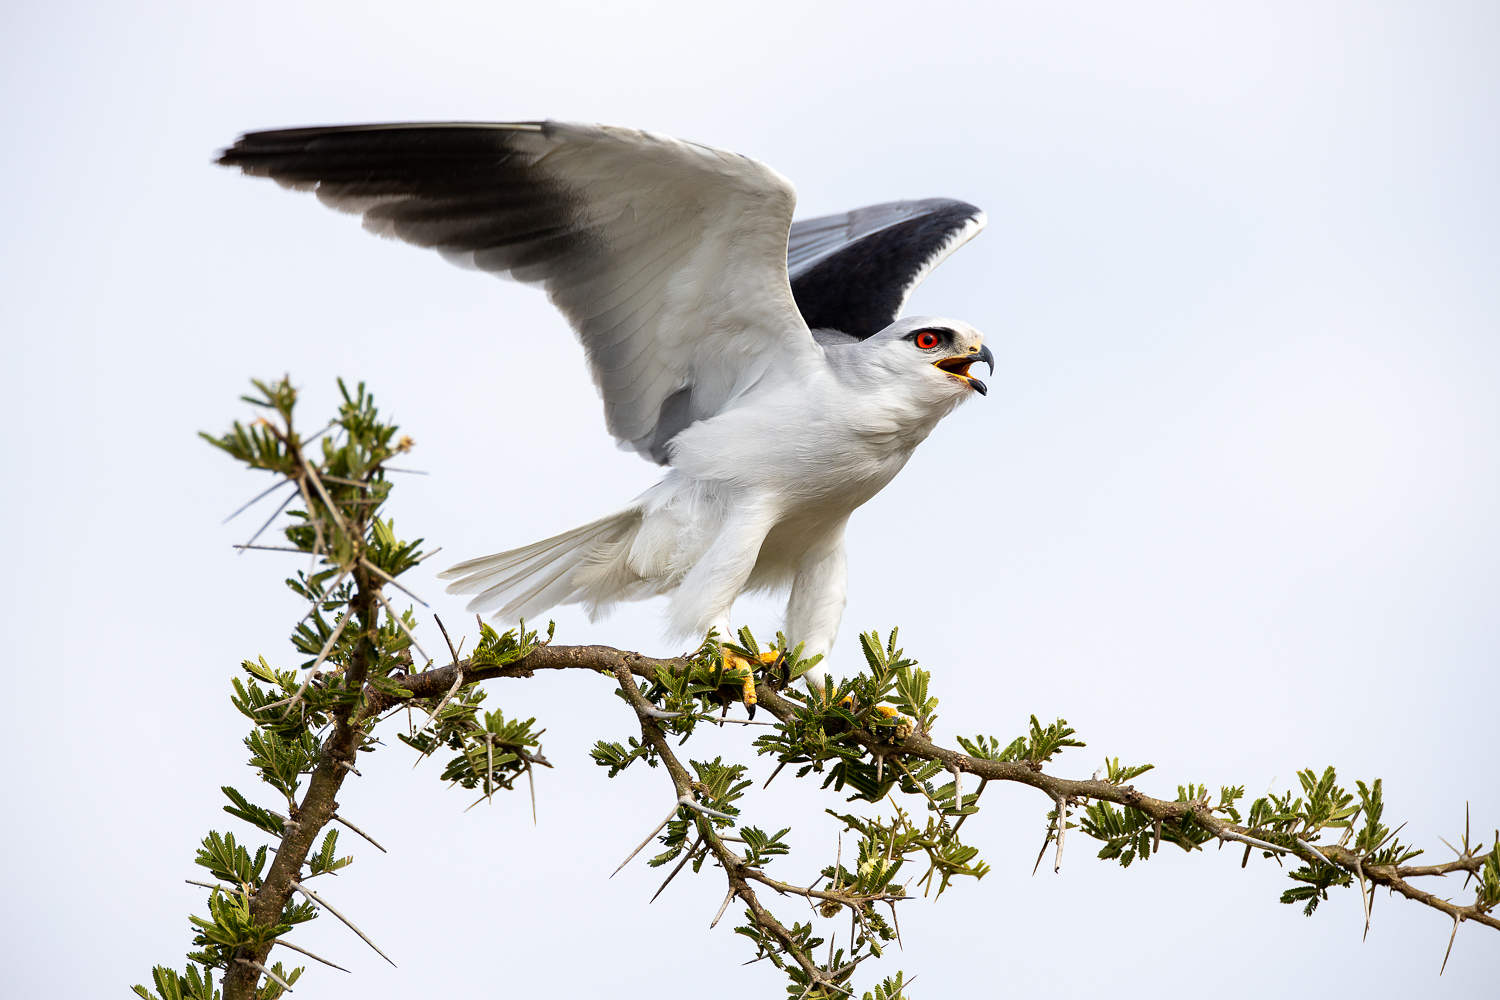
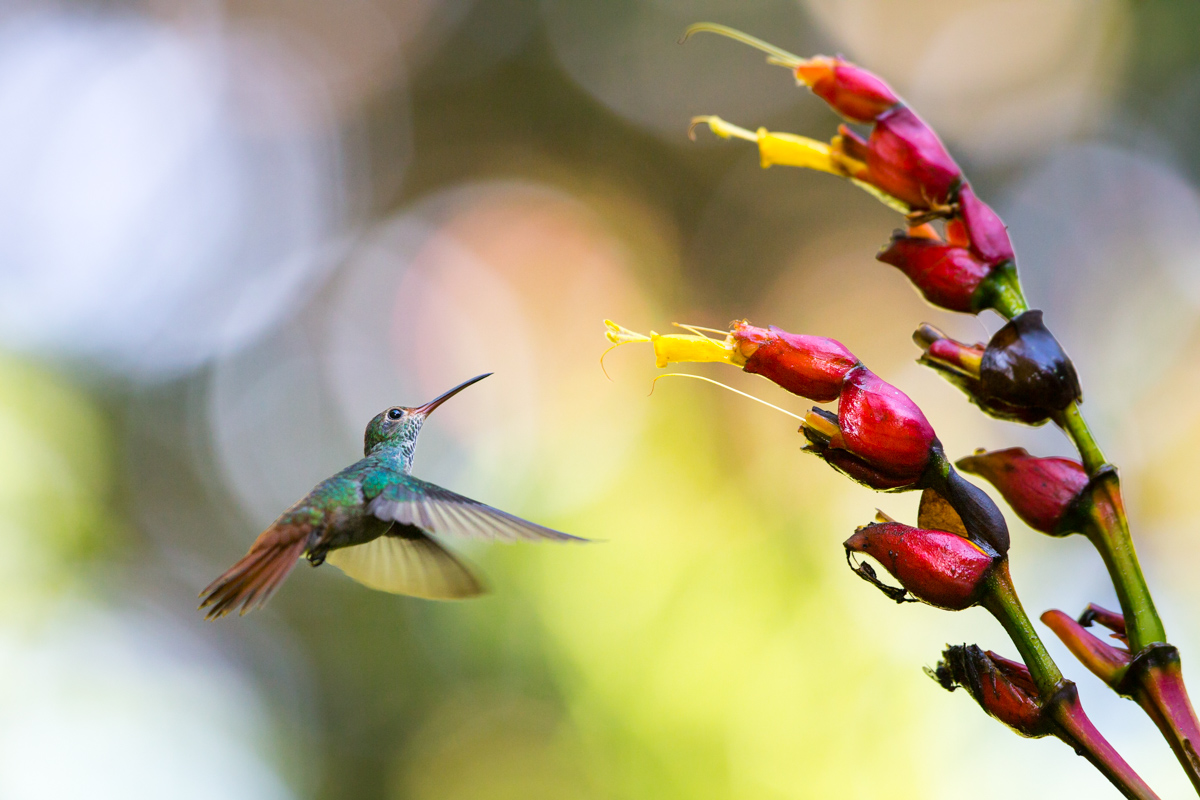
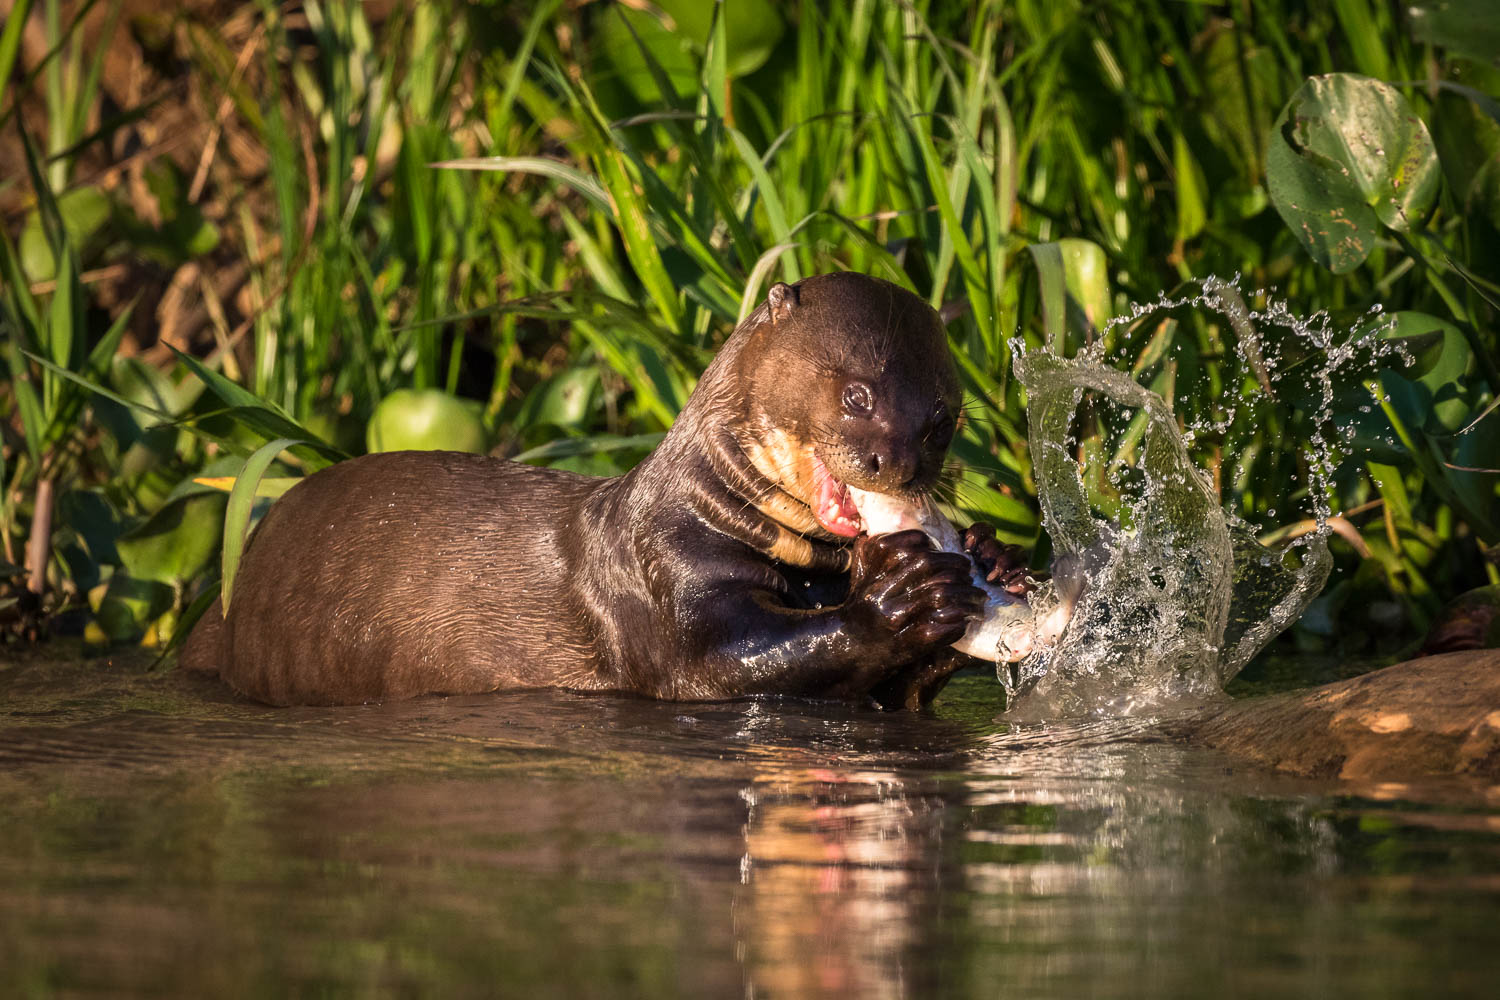
2- TAKE SHARP PHOTOS
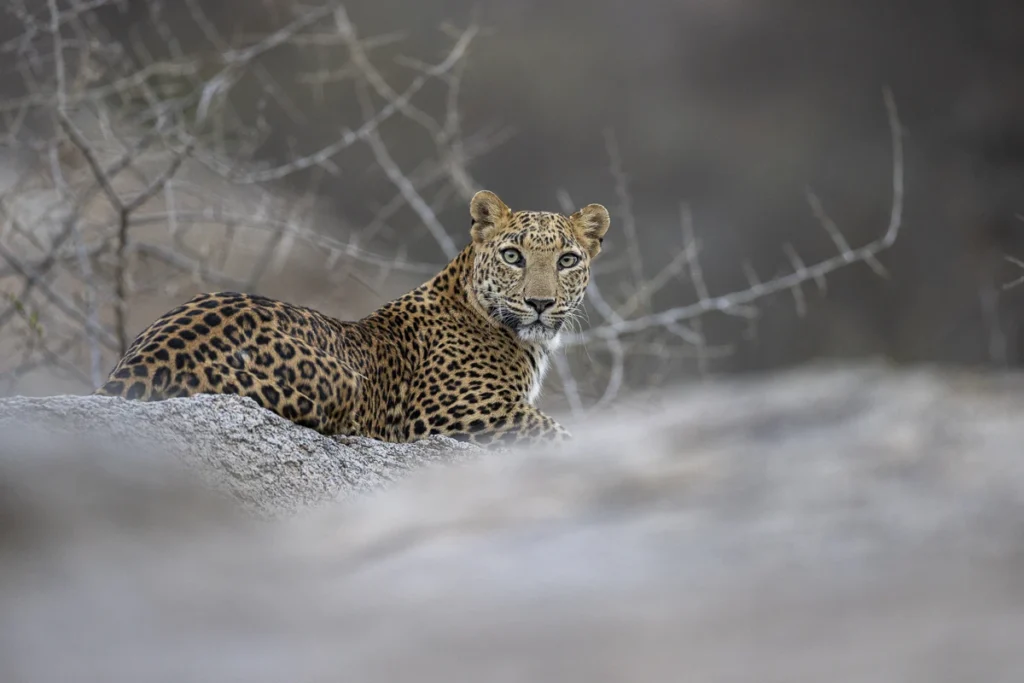
To capture the details and textures of animals, it’s important to take sharp photos. It sounds silly when you say it like that, but it’s the basics. You’ll need to focus in the right place and have the right focal length/shutter speed pairing to freeze the moment and get a good depth of field.
Focusing is a very important parameter: today’s new cameras offer incredible possibilities. You’ll need to focus on the animal’s eye, because that’s the most important part. Today’s autofocus systems are very powerful, so don’t hesitate to use them. Personally, I very rarely shoot manually and trust my camera completely. To maximize your chances, you need to know your equipment very well in order to optimize its performance. With classic SLRs, the idea is to select the right autofocus collimators and aim for the animal’s eyes. On new hybrids, such as the Canon EOS R, animal eye detection is amazing: don’t hesitate to use it!
If you ever need help setting up your autofocus, here are a few guides for new Canon cameras that might help.
It’s also important to use a fast shutter speed to minimize blurring caused by the movement of the animal or your camera. This can be achieved by increasing the shutter speed. One of the basic rules is to have at least 2 times the shutter speed as your focal length. For example, if you’re using a 400 mm lens, it’s advisable to shoot at 1/800 of a second minimum. Don’t hesitate to increase ISO if light conditions are poor, in order to reach this minimum shutter speed.
It’s better to have a sharp, slightly noisy photo than one that’s totally out of focus!
New generations of stabilized lenses, coupled with hybrid cameras that are themselves stabilized, mean that shutter speeds can be lowered considerably, while still achieving sharp images. Many special situations will require you to adapt and get out of your comfort zone when it comes to settings. For birds in flight, you’ll need to increase shutter speed considerably (to at least 1/1000 s). For very dark, still scenes, use a tripod. The main thing is to keep practicing and exploring different techniques to develop your own style and improve the quality of your photos.
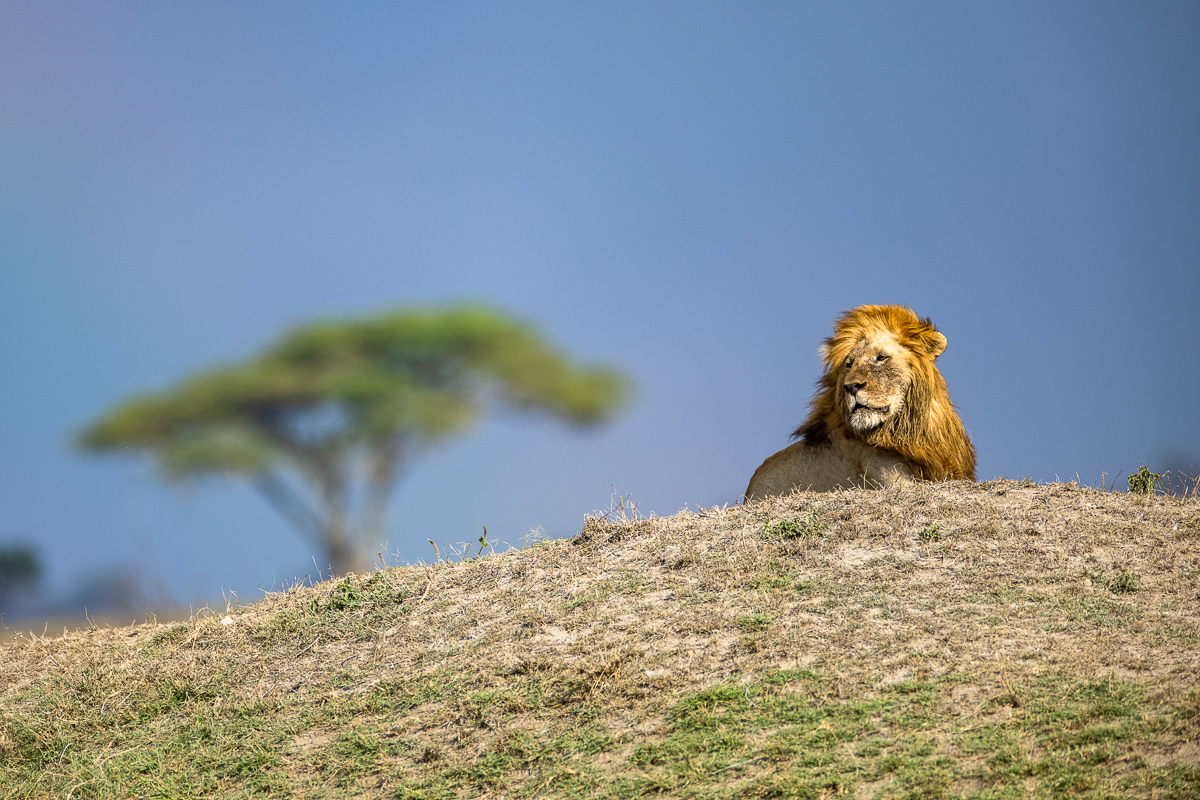
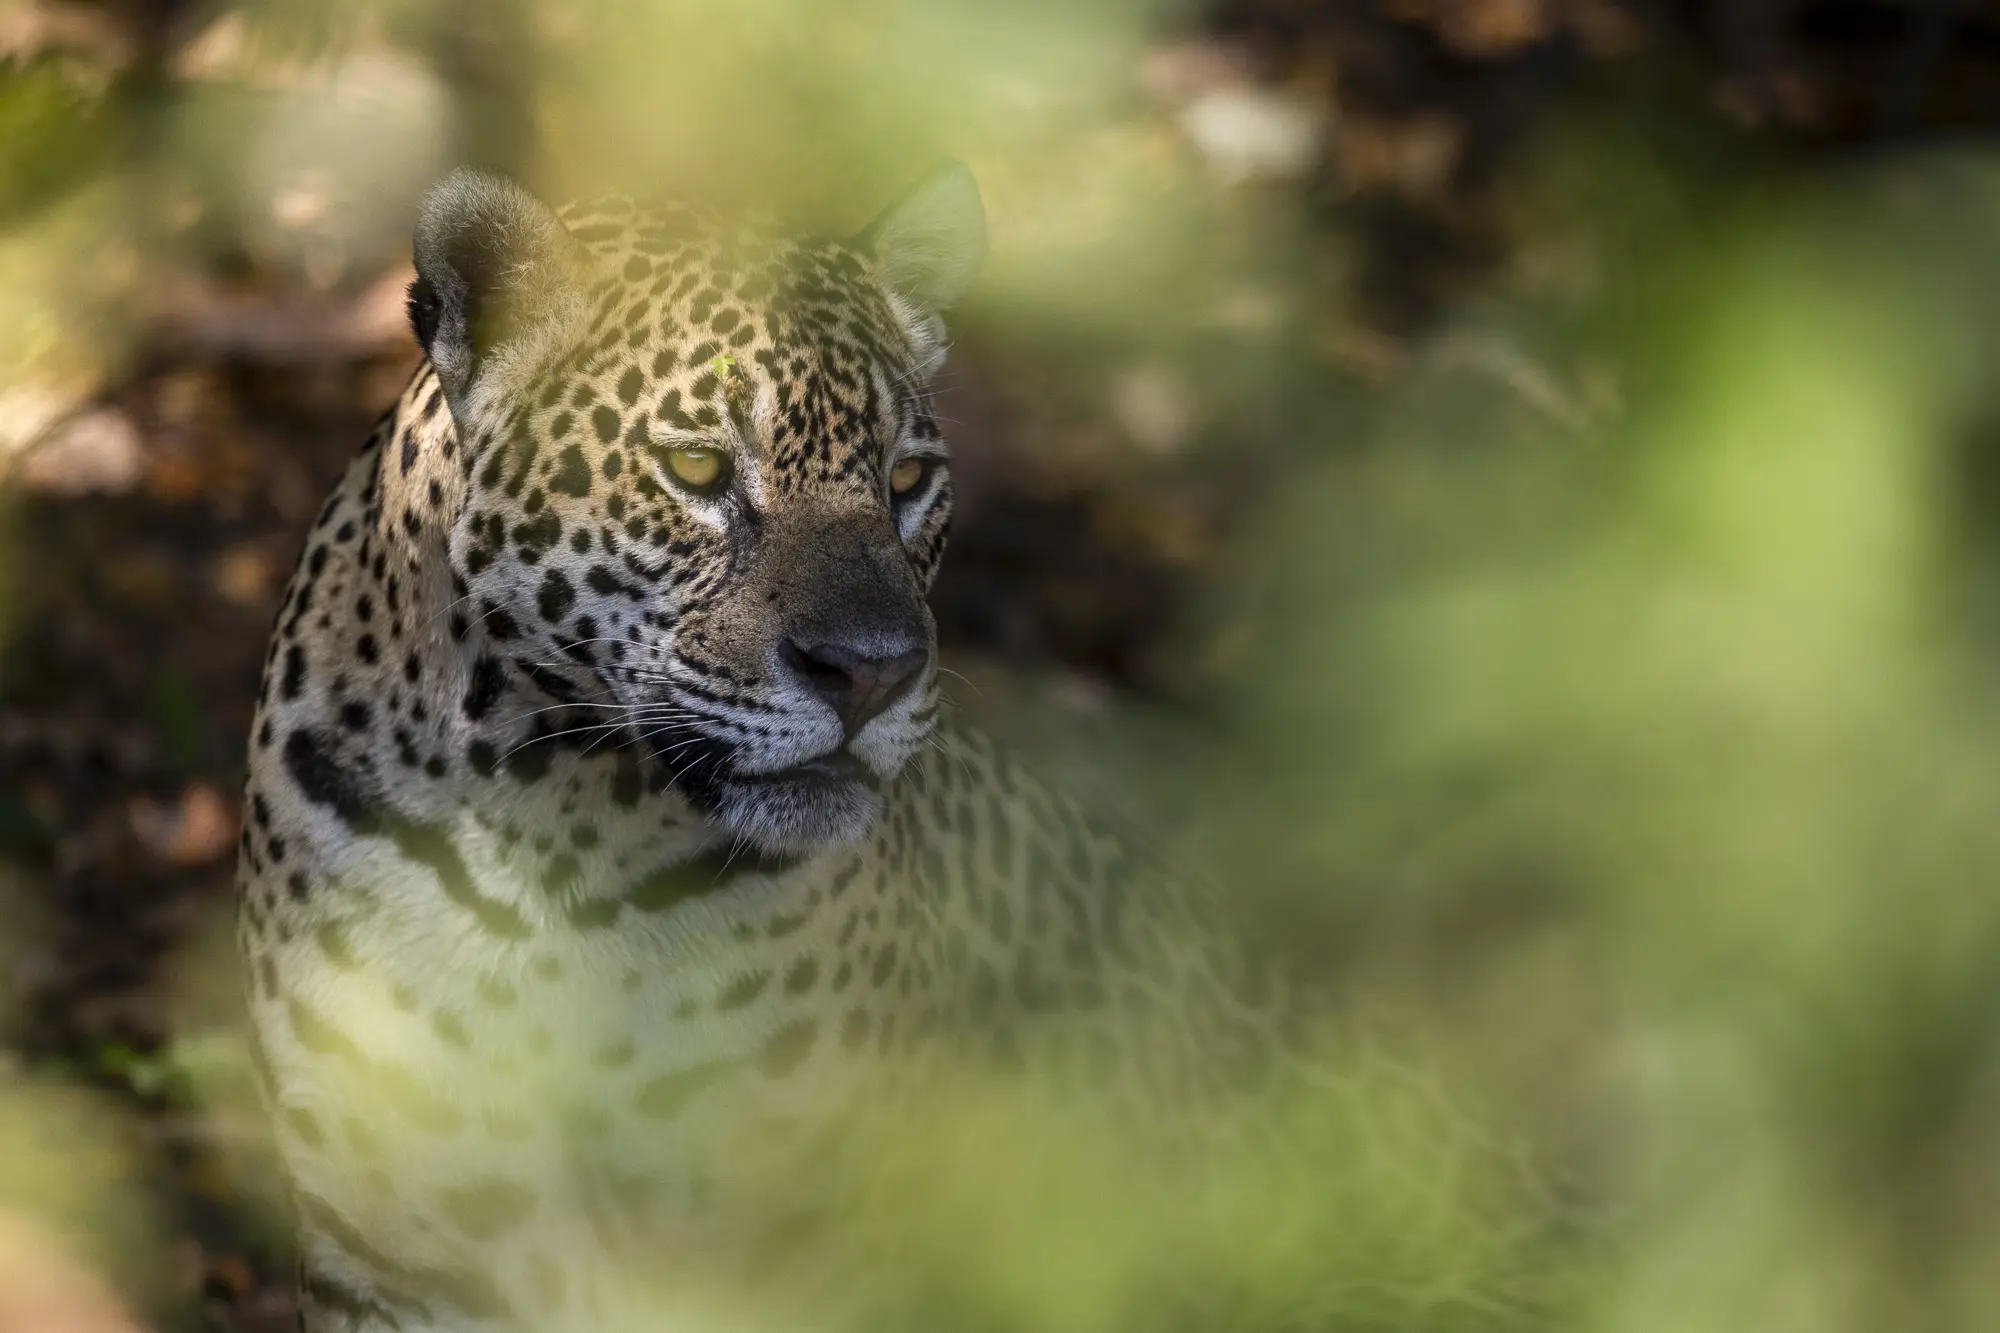
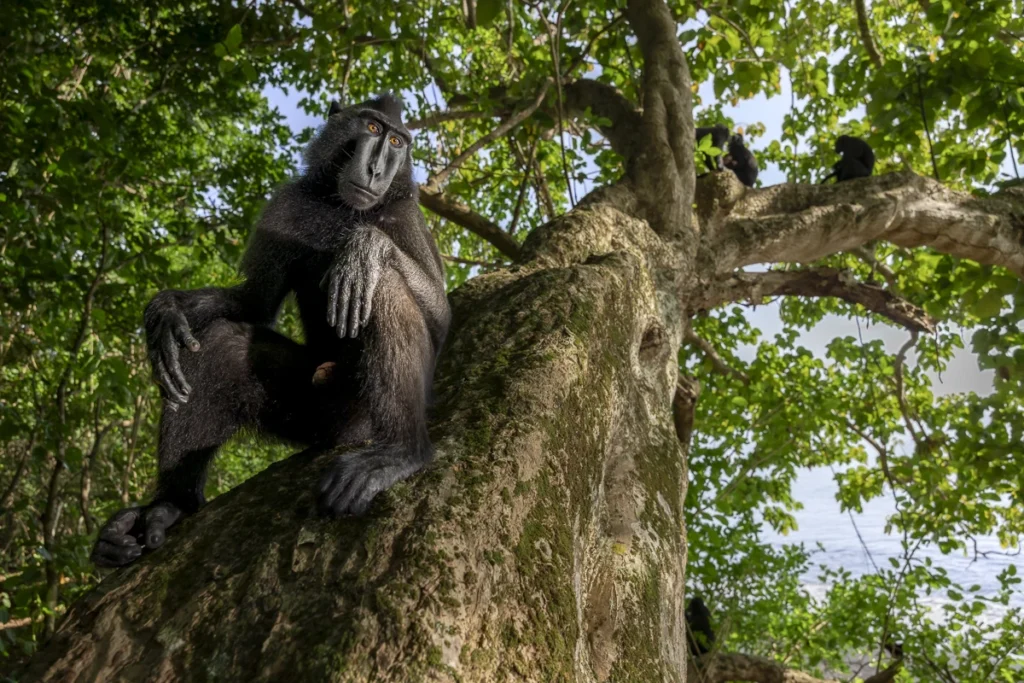
3- WORK ON YOUR FRAMING
The third tip for taking good animal photos is to work on framing. Good framing can make all the difference to the quality of your photo. Using the rule of thirds, creating simplistic backgrounds to highlight your subject, or using symmetry to create balanced, harmonious compositions. Experiment with different framings to find the one that best highlights your subject and tells a story. Framing will be a way of developing your own style and signature in photography.
It’s also important to think about the position and direction of the animal in the frame, ensuring that it isn’t cut off or half-hidden by an object. If you’re photographing a moving animal, it can be useful to think about the direction of its movement and leave space in front of it to give a sense of movement in your image. Avoid framing too tightly, and leave a little air in your image.
Finally, framing can add a narrative dimension to your image. By photographing animals in their natural environment, you can show their behavior, their habitat and their place in the ecosystem. In this respect, choosing the right focal length will be decisive. You can also use framing to create tension or dramatization, using lines and shapes to direct the viewer’s gaze towards the main subject.
using a wide-angle lens
puts the animal back into its ecosystem
and gives context to the image.
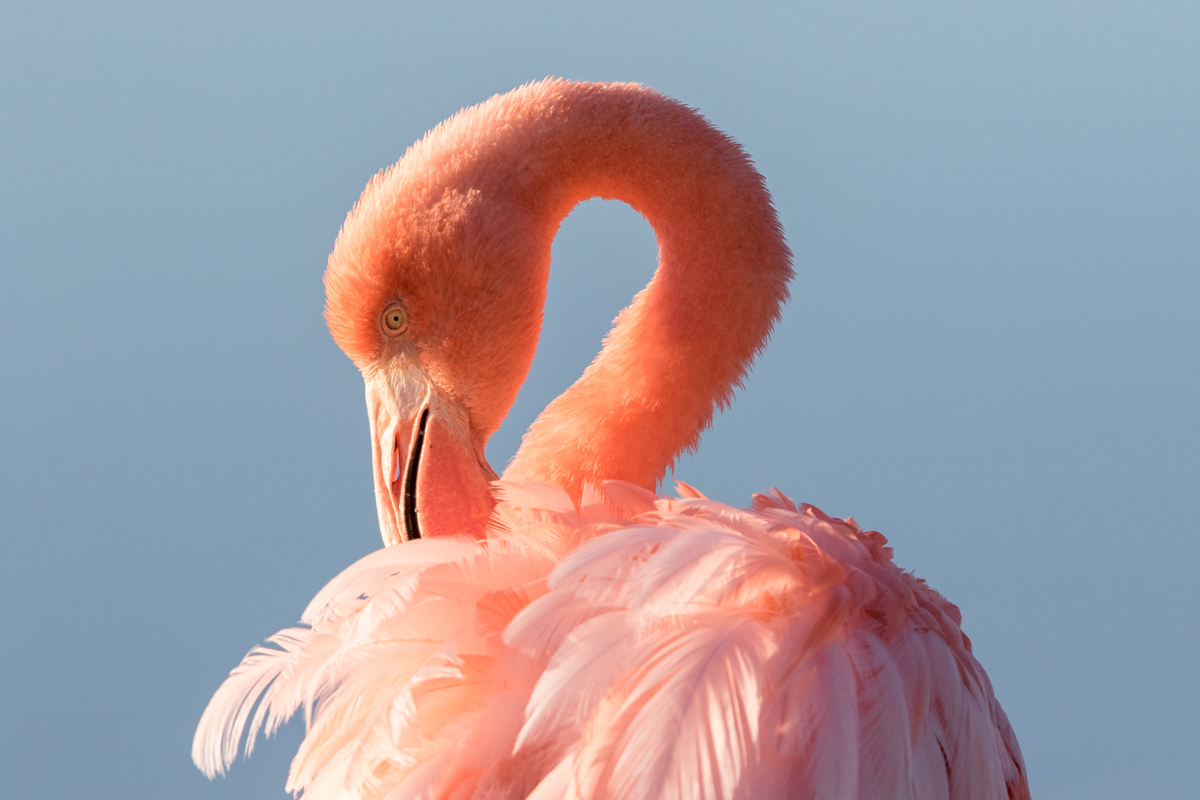
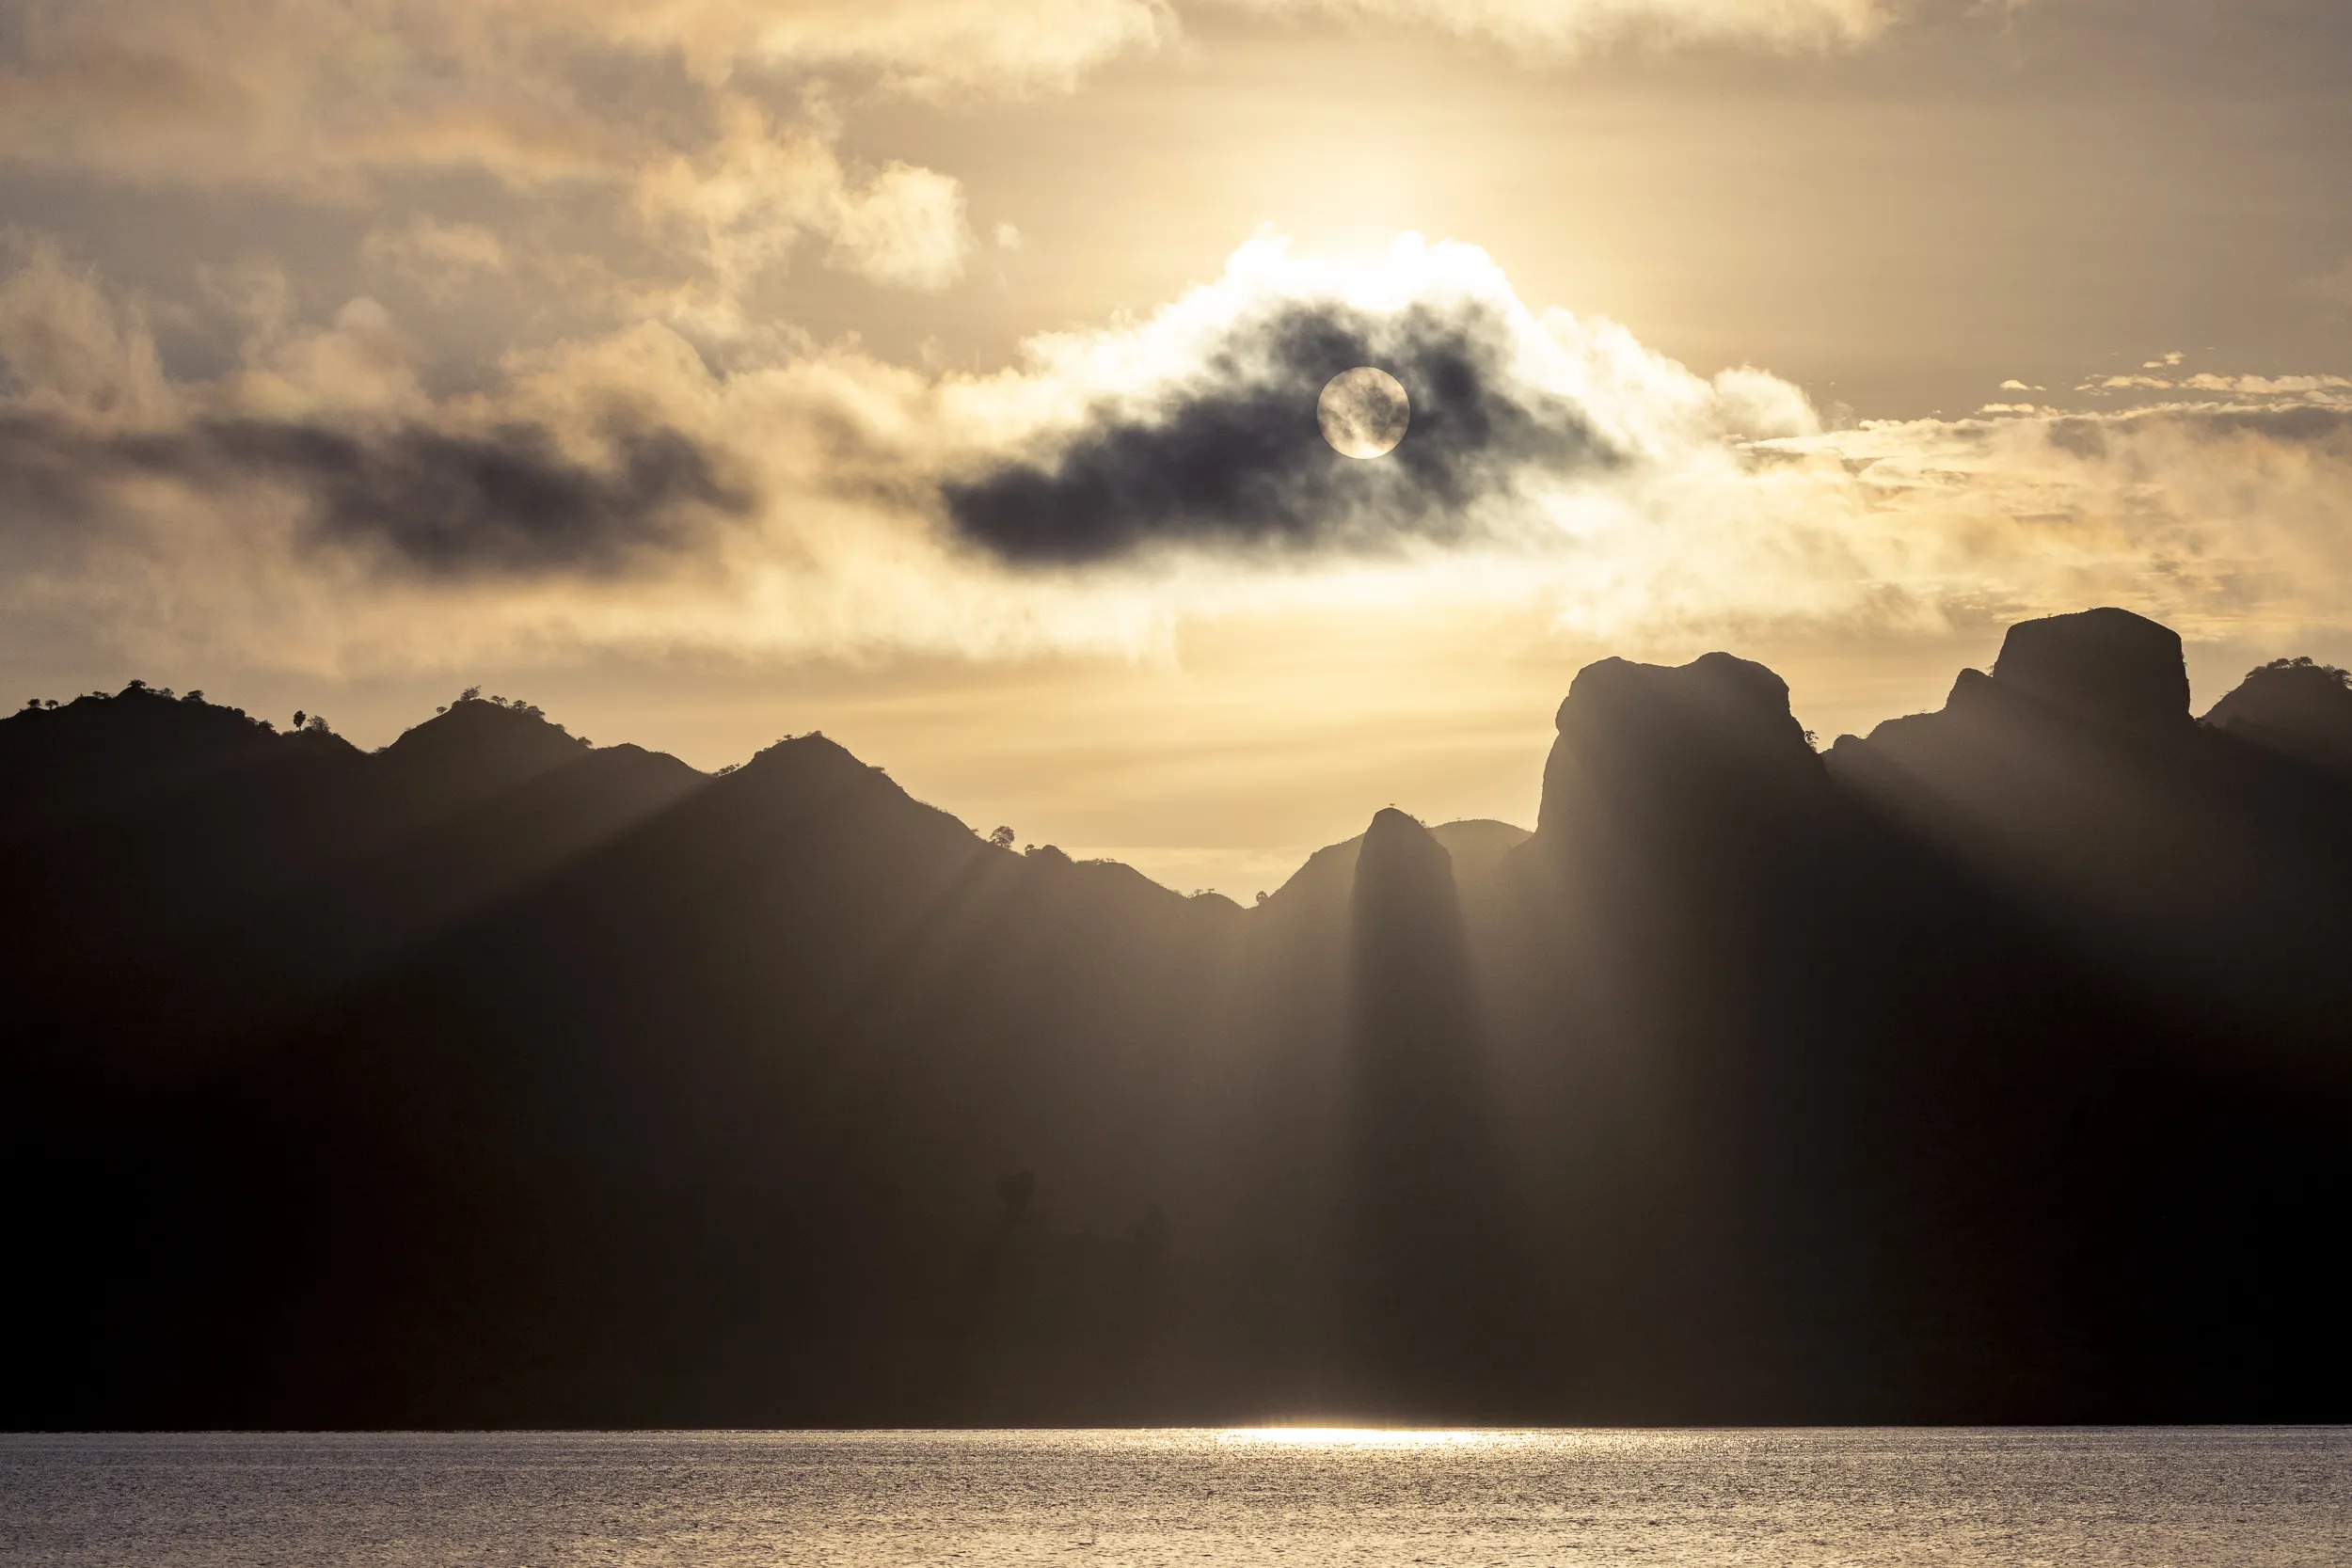
4 - PLAY WITH LIGHT
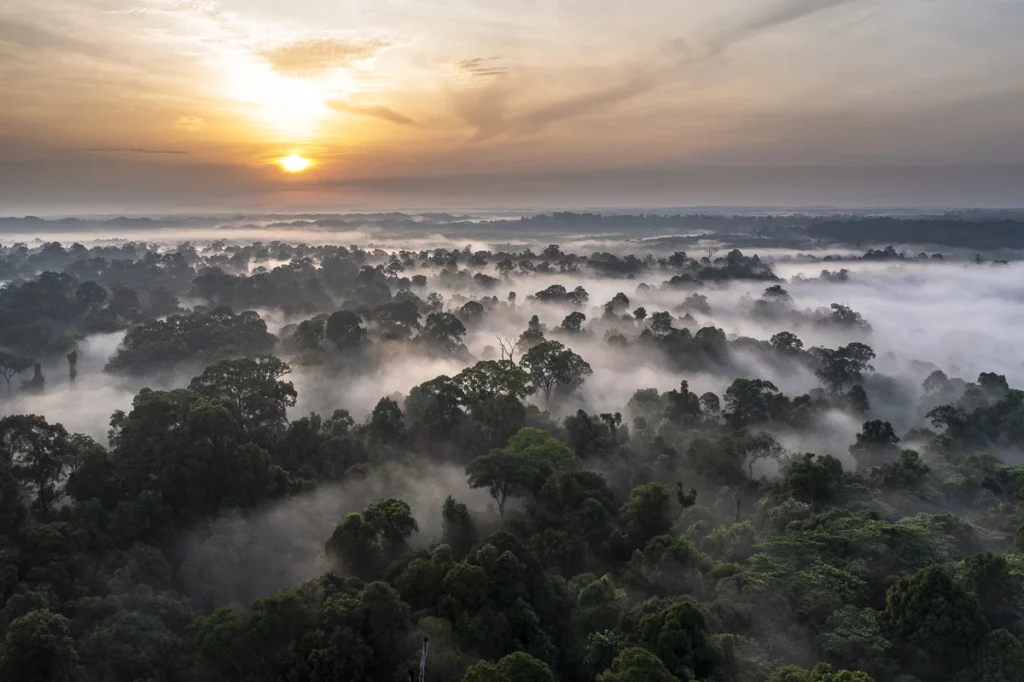
The fourth tip for taking beautiful animal photos is to get the exposure right, to capture the color moods created by the light of the moment. Morning and evening are the best times to take advantage of soft, colorful light. Technically, exposure determines the amount of light that reaches your sensor, and it’s the key to getting clear, well-balanced images. It’s important to find the right balance between light and dark to create images rich in detail and color. To do this, you need to choose the right exposure settings to avoid overexposed (too bright) or underexposed (too dark) areas.
Exposure depends on three factors:
Shutter speed: determines the length of time the sensor or film is exposed to light. A slower shutter speed will capture more light, which can be useful in low-light conditions. However, a faster shutter speed may be necessary to freeze moving subjects.
Aperture: determines the amount of light that passes through the lens. A larger aperture will let in more light, useful in low-light conditions, while a smaller aperture can create a background blur (bokeh) effect.
ISO sensitivity: defines the sensor’s sensitivity to light. A higher sensitivity allows you to capture more light in low light conditions, but can also lead to electronic noise or degraded image quality. Every camera has its own limits, so get to know those of your equipment.
Exposure control is one of the key elements in wildlife photography. Exposing an image well means finding the right balance between aperture, shutter speed and ISO. To achieve this, cameras offer several exposure modes, some of which are semi-automatic, offering a good compromise between control and simplicity.
Aperture priority mode (often referred to as AV or A) is the one I use most often. It lets you choose the aperture value, which has a direct influence on depth of field and background blur. The camera then determines the shutter speed best suited to the light and ISO sensitivity. This mode is particularly useful when you want to isolate a subject from its surroundings, such as an animal in a busy scene, while maintaining a balanced exposure.
Shutter-priority mode (TV or S) works the other way round. You choose the shutter speed, and the camera adjusts the aperture accordingly. This mode is very useful for freezing fast motion, such as a bird in flight, or for introducing a controlled motion blur to give the image a dynamic feel.
Finally, manual mode (M) lets you control all parameters: aperture, shutter speed and ISO. This requires more anticipation, but offers total freedom over the final rendering. I use it in particular when out on the prowl, when the light is stable, or in complex situations where automatic metering could go wrong, for example in backlighting or high-contrast environments.
Depending on the type of scene, the light and the animal’s behavior, the choice of exposure mode can make all the difference. The important thing is to understand what each mode lets you control, and choose the one that best helps you tell the story you see.
The histogram lets you check whether your photo is properly exposed.
No matter which mode you choose,
whether I want a darker or lighter image,
I play with the exposure compensation wheel (EV).
Once you’ve mastered the art of exposure, you can start getting creative with light. Experiment with backlighting, bring out silhouettes by underexposing, or create high key effects by overexposing. Don’t hesitate to make several versions of your image by varying certain settings to familiarize yourself with this creative process.
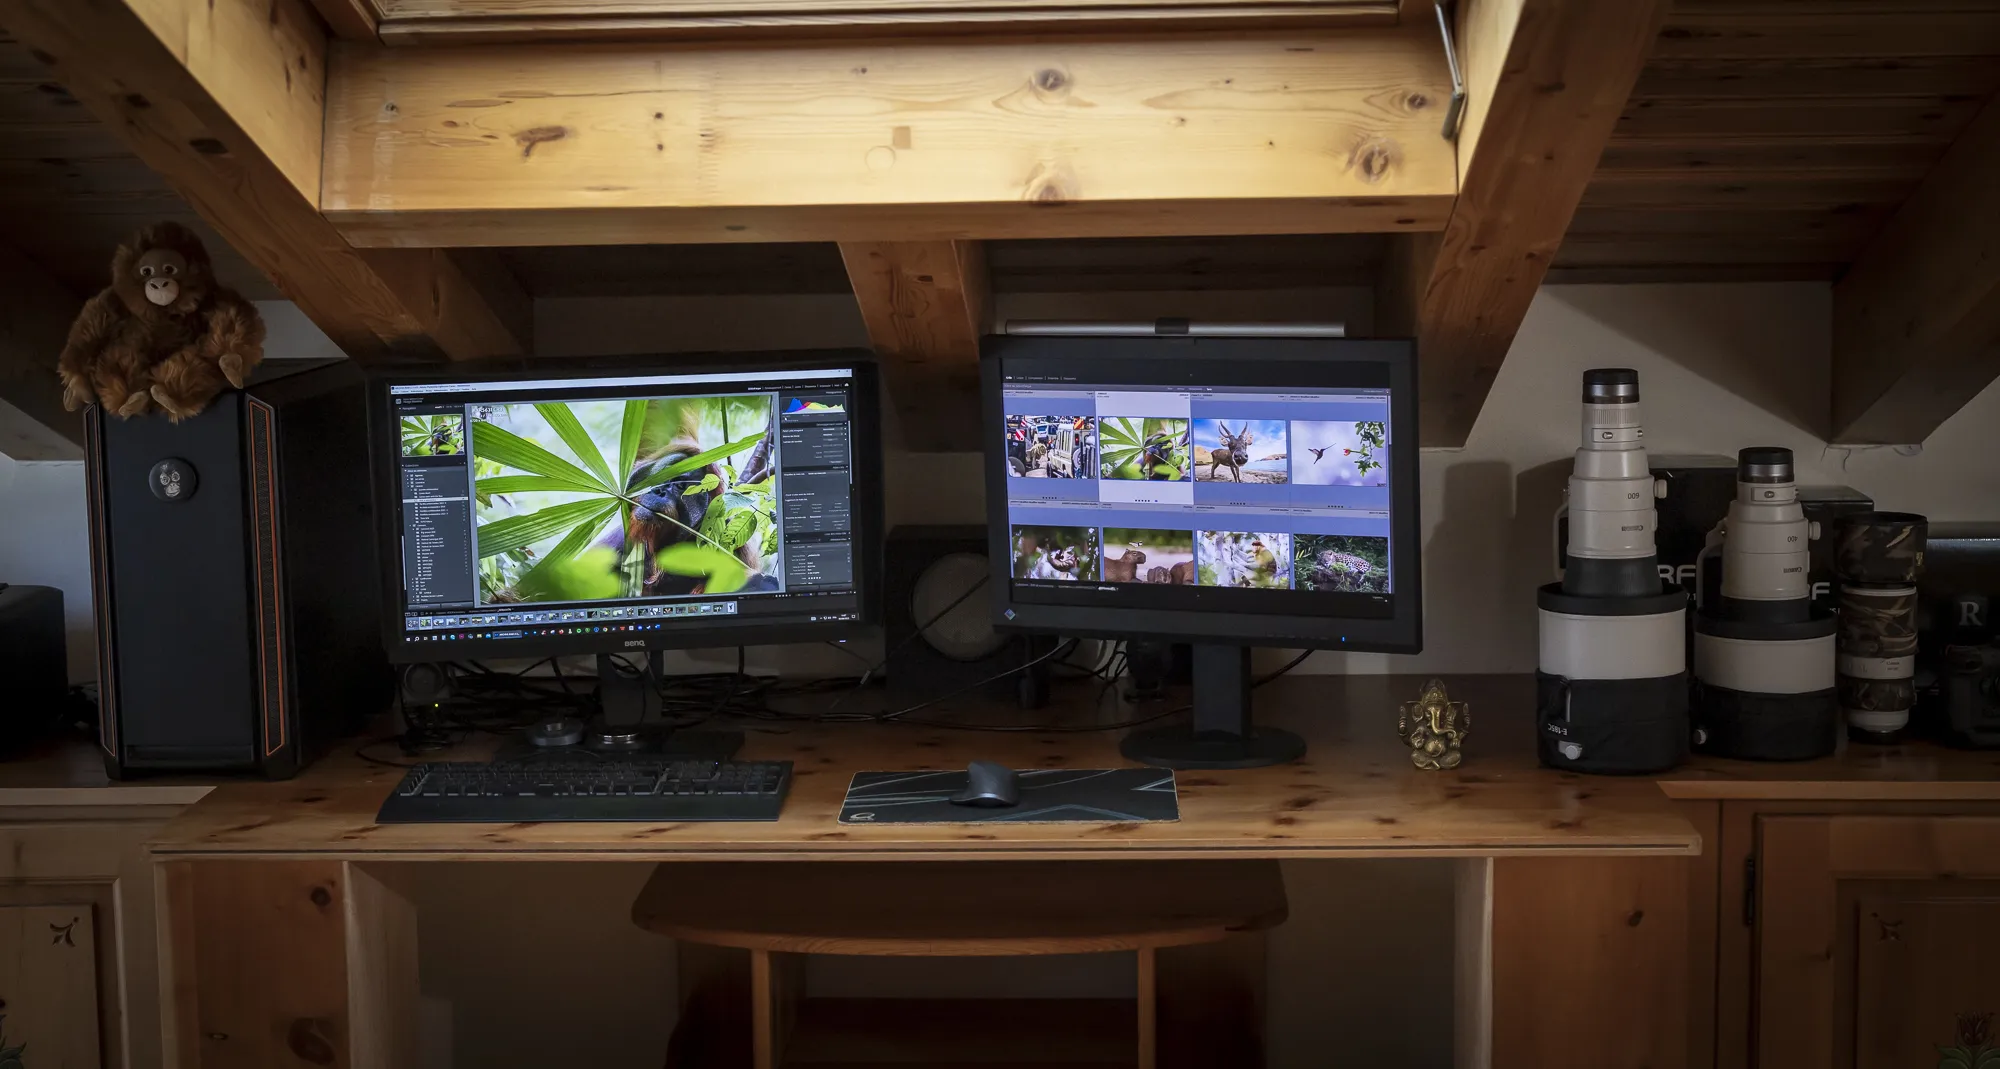
5 - ORGANIZE YOURSELF
The final tip for making great pet photos is to know how to manage and process your photos on the computer. By organizing and processing your images efficiently, you maximize their potential and create photos that will make a lasting impression. You’ll be able to correct a few flaws or give them a particular style. As far as I’m concerned, when it comes to wildlife photography, it’s essential not to overdo it in order to stay true to reality.
Digital image processing using software
is an integral part of today’s photographer’s workflow. You’d be wrong to miss out!
One of the best tools for managing and processing your images is Adobe Lightroom. With this tool, I can manage my entire workflow: from importing, sorting, selecting and processing to exporting. It’s easy to use and is constantly evolving to meet photographers’ needs. Many books and tutorials are available online to learn how to use it. It’s not very complicated, but it does require a little practice to become automatic.
It’s important to sort your photos and organize them efficiently so you can find them easily. Personally, I sort my images by the place where they were taken. Be rigorous in your selection: there’s no point in keeping poorly framed or blurred photos, or a series of shots. In Lightroom, I use the X shortcut to exclude unwanted images and I put stars on images that stand out on first reading. Once you’ve sorted through the unwanted images, delete them.
Then it’s time to process the images. For me, the first step is to check the framing: sometimes I need to straighten the horizon or crop slightly, depending on what I want to emphasize. You can then play around with the various sliders to adjust exposure, colors and give the image the look you want. As I said, in wildlife photography, it’s important not to overdo it and to stay natural. Processing is important because it reveals the image. When I take a photo, I try to capture as much information as possible, which is why I prefer the native RAW format. Even if the image may seem bland, I have all the material I need to enhance it and convey the mood of the moment.
The idea here is not to give a tutorial on image processing, but simply to show that there’s no shame in improving your shots. In fact, it’s highly recommended if you want to create quality images. It may take some effort at first, but over time it will become automatic and you’ll find your own style.
Finally, don’t forget to back up your images regularly and store them in several places to avoid any data loss. It would be a shame to lose all your photos over the years without a backup. Large-capacity hard drives are quite affordable these days, so do it before it’s too late.
The last word…
In conclusion, I hope that the 5 tips presented in this article will help you create incredible animal photos, capable of capturing the beauty and personality of your subjects. From image quality, to knowing your subjects, to managing and processing your photos, these tips will help you create authentic and powerful images that I hope your audience will appreciate.
Remember that wildlife photography is a matter of practice, experience and patience. Use these tips as a guide to improve, and don’t be afraid to try out new techniques to discover what works best for you. This article is a starting point for your photographic journey, and there’s still so much to learn and explore. So grab your camera and set off to discover the magnificent diversity of wildlife.
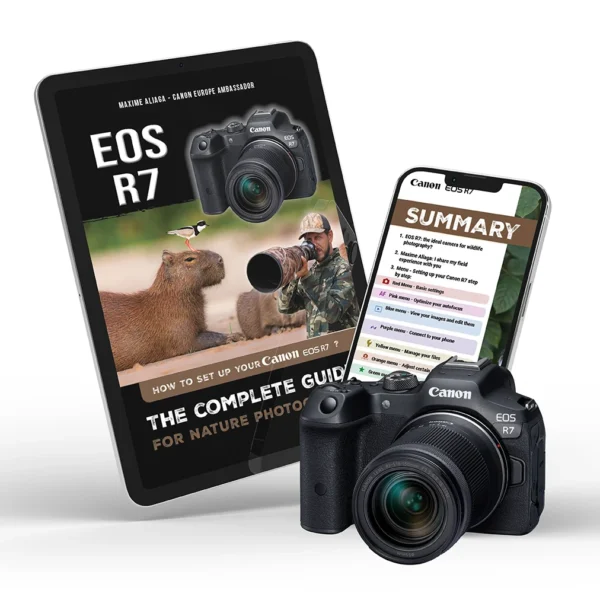
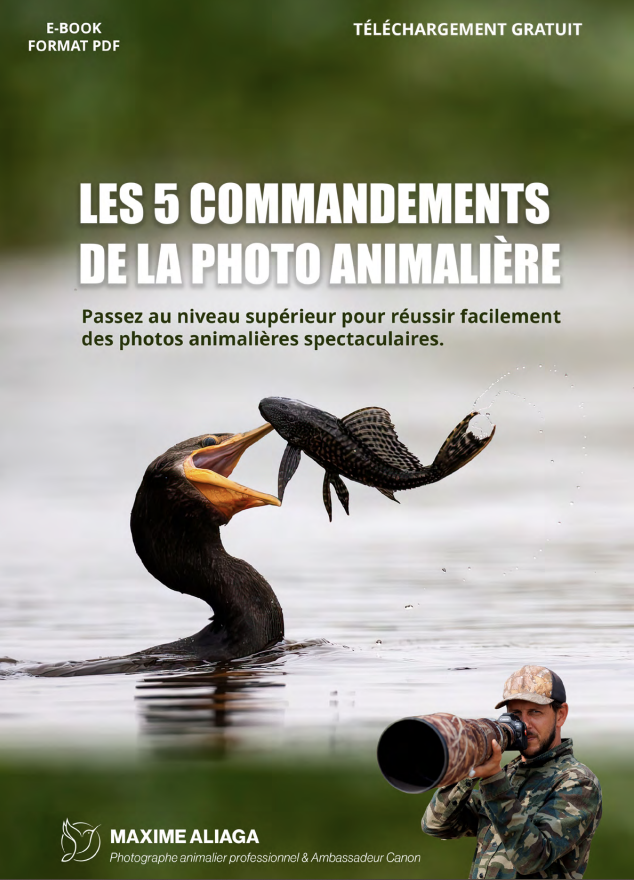
FREE DOWNLOAD
The essentials for
beautiful animal photos
Professional advice to easily improve your nature and wildlife photos.
➤ 49 pages of content
➤ For all levels of photography
➤ Get started today, wherever you are.
Canon Europe Ambassador
ILCP Associate Fellow
Leofoto Ambassador
Travel with my newsletter!
Enjoy the stories behind my travels, my secrets and the behind-the-scenes stories behind my images. You'll also receive tips on how to progress in photography and master your cameras, as well as free content, exclusive images and many other surprises!
CONTACT ME
Would you like to work with me, talk about my projects or take a training course? Let's talk